Managing Inbox
ImportantPlease ensure that you have integrated your website with WebEngage & has enabled On-Site Feedback through Data Platform > Integration > On-Site Setup (Configure) > Feedback in your dashboard. These are prerequisites to collecting responses through the Feedback widget.
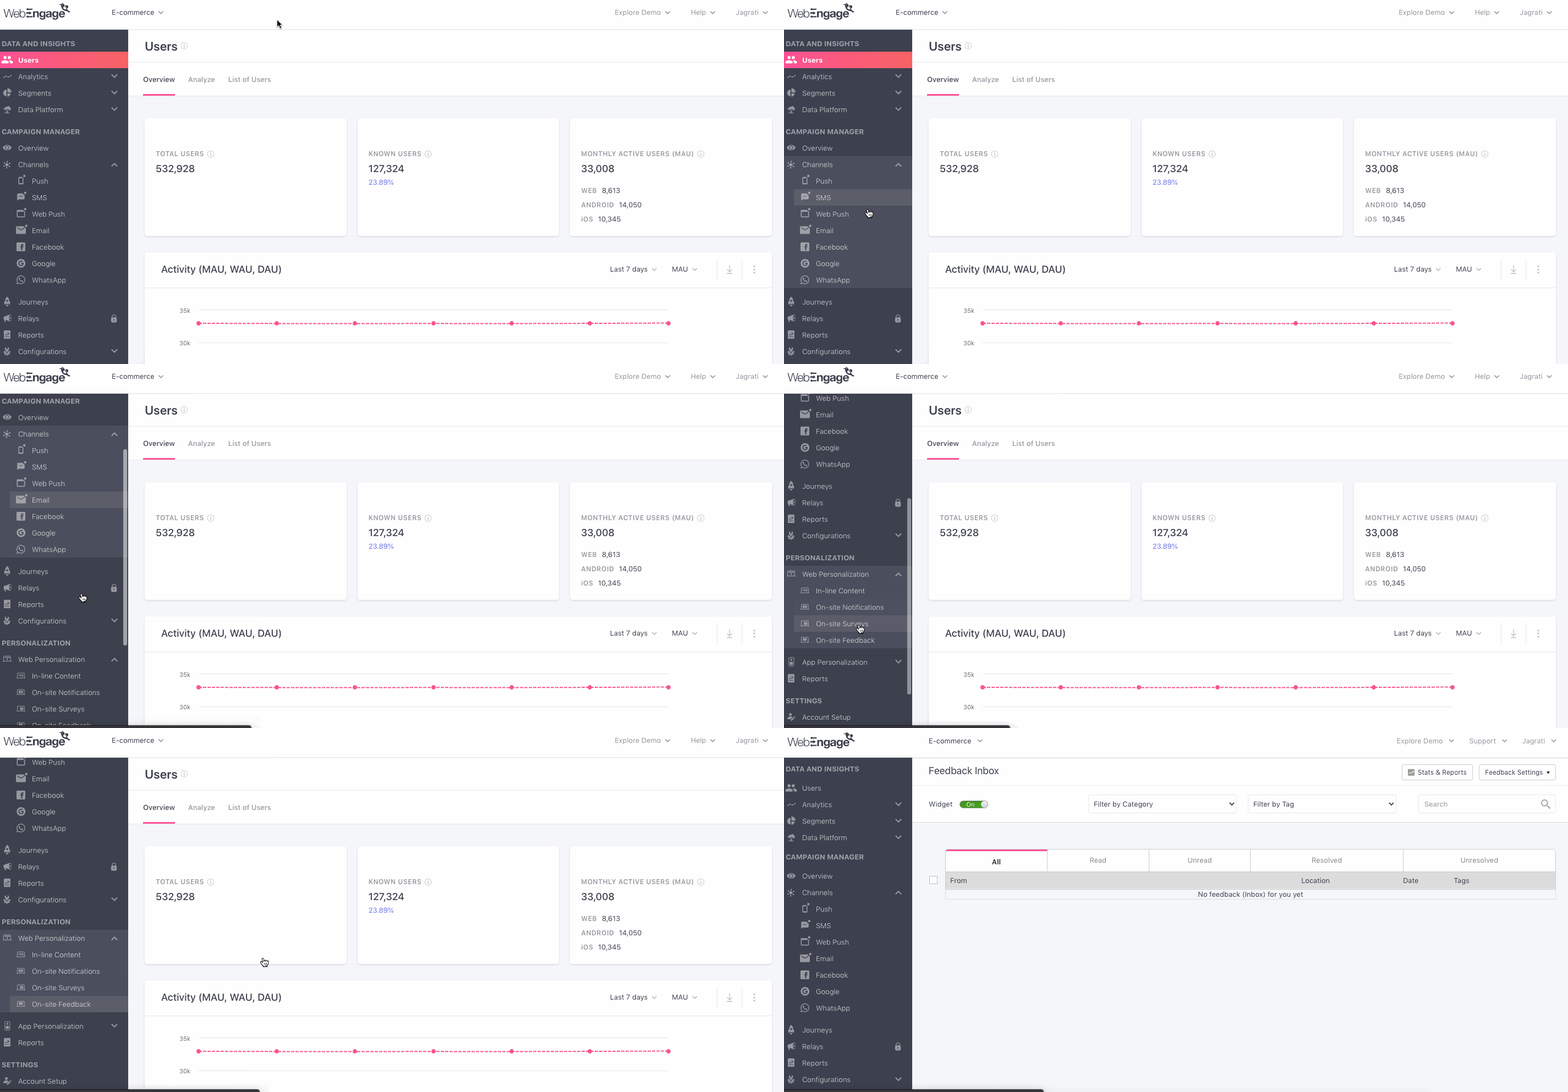
The Inbox is the first interface you'll experience on selecting Web Personalization > On-site Feedback from the navigation panel.

Click to enlarge
Features
Feedback Inbox a central repository of all user responses and presents query resolution stats for the entire lifetime of your account. It also enables you to customize the Feedback button, form, acknowledgment and reply emails, route specific types of queries to teammates and analyze user stats.

Widget
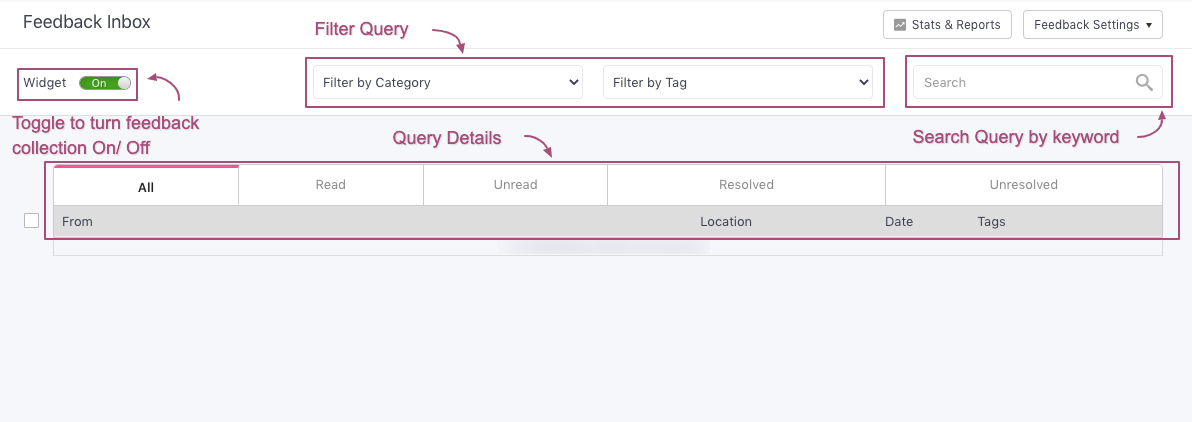
Widget is one of the most important features that lets you enable or disable the Inbox. Using the toggle switch placed on the top left, you can choose to disable the Feedback button on your website.
Query Details
Once a user submits their response/query through the Feedback widget, it can have any of the following statuses:
Read: Indicates the number of queries that have been viewed by an account admin.
Unread: Indicates the number of queries that are yet to be viewed by an account admin.
Resolved: Indicates the number of queries to which an admin has responded.
Unresolved: Indicates the number of queries that have been Read and are awaiting further action.
Please NoteAll Numbers are calculated against the total number of queries submitted over the entire lifetime of your account.
Filter Query
Depending on your needs, you can filter your Inbox by Feedback Category and Feedback Tags.
-
Feedback Category: Depending on your business, you can create categories under which users can submit their responses. It's an effective way to manage queries.
-
Feedback Tags: Tag is a handy feature that helps you categorize responses/queries as per their topic, priority (low, high, critical), or any other parameter that makes it easier for you to manage queries. You can create these by clicking Add Tag under Feedback Details.
Update Query Status

Click to enlarge
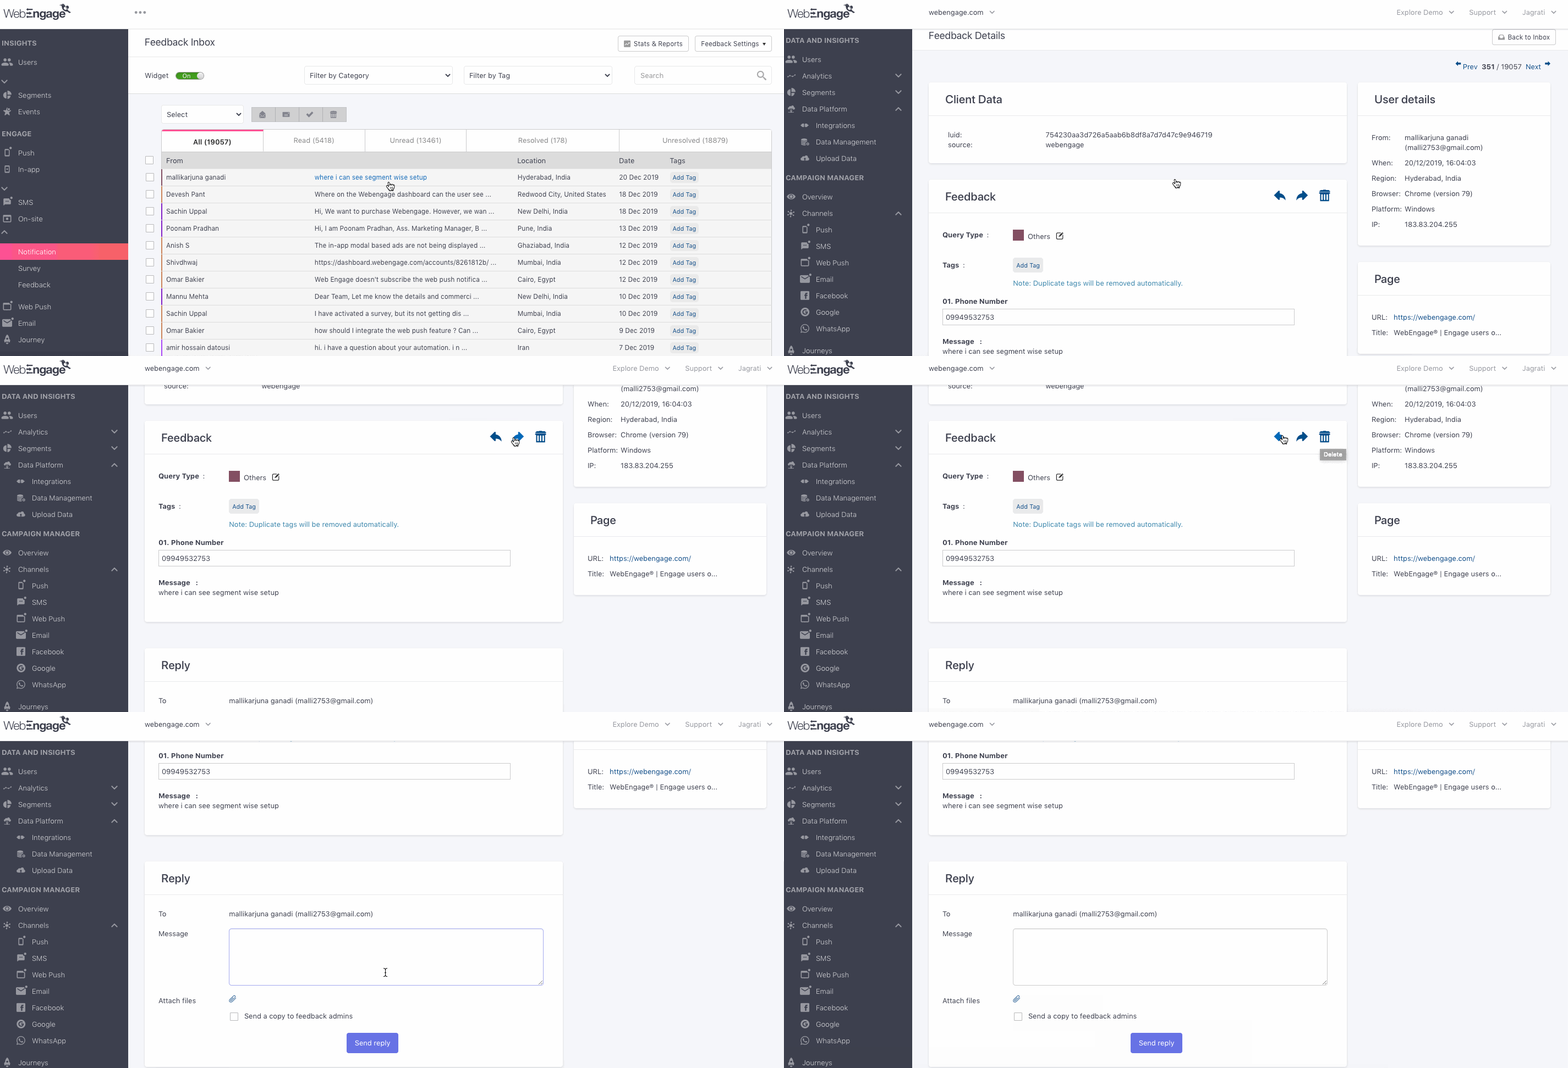
Feedback Inbox also enables you to update the status of a user query by marking it as Read, Resolved or Deleting it. As highlighted above, select a row to Mark it Read, Mark it Unread, Mark it Resolved or Delete it.
Search
You can also dig out specific queries by typing in a keyword in the Search Bar.
Skip To
Feedback Details (Responding to Query)

Click to enlarge
As shown above, you can respond to a query by clicking on it in your Inbox.
-
You can also choose to attach supporting documents and send a copy of your response to other Account Admins.
-
Forwarding: You can send the message as an email to a teammate by clicking the Forward button placed on the top left of the Feedback section. (Irrespective of whether the teammate is an account admin.) specify an email address, add a message for context and click Submit!
Let's quickly walk you through all the details shown here:
Client Data: Indicates all the WebEngage account-related details of the user. This includes:
- LUID: Each web visitor is given a unique code in your dashboard. This code enables us to track and populate their user profile, which further facilitates contextual personalization. You can use this ID to analyze
- Source: Indicates where the message was submitted on your site.
User Details: Indicates key user information like:
- Their name (From).
- Date-time at which they submitted the query (When).
- Their location (Region).
- Technical information (Browser, Platform, IP Address).
Feedback: Includes the user's query along with crucial details like:
- Query Type (As per the Feedback Category selected by the user).
- Phone Number (Only if shared by the user in the form).
- Message
- Tags: These enable you to categorize a message as per their topic, priority (low, high, critical), or any other parameter that makes it easier to manage queries. Click Add Tag to create one and reuse it for tagging other queries.
Page: Indicates the web page details on which the user submitted their feedback like its URL and Page Title.
Updated 4 months ago