List of Campaigns
Understanding the central hub of onsite notifications in your dashboard
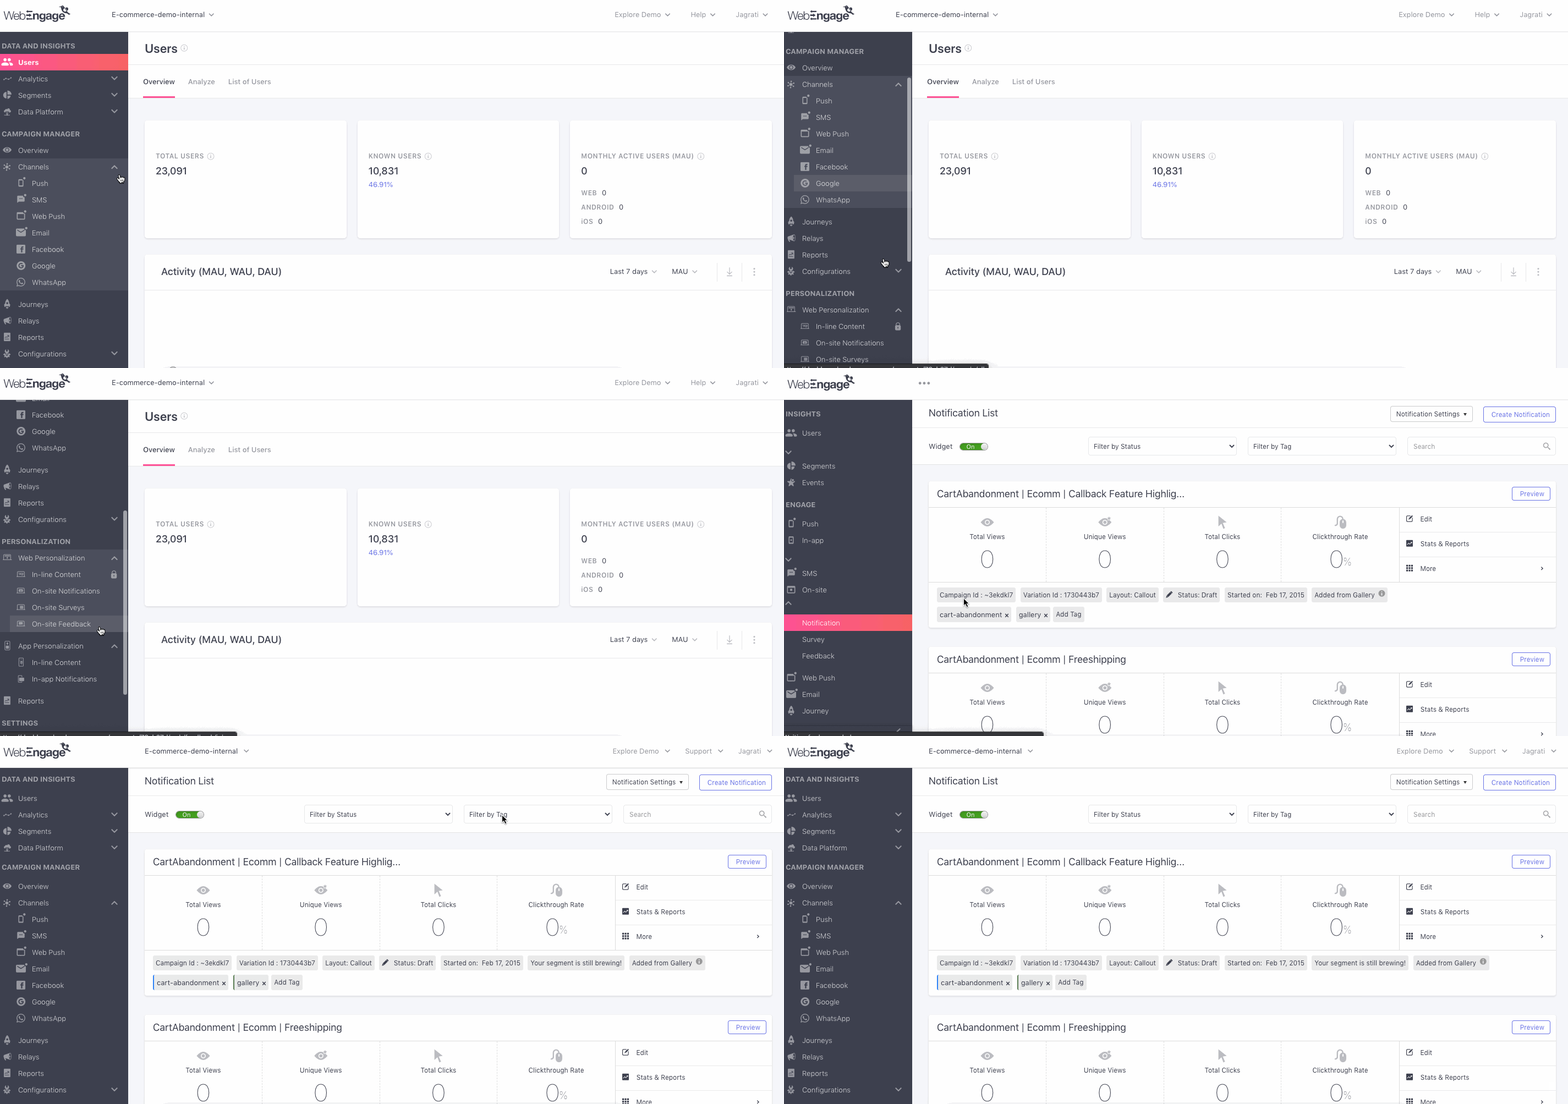
Notification List is the first interface you'll experience on selecting Web Personalization > Onsite Notification from the navigation panel. It's a central repository of all your On-site Notifications and enables you to create, analyze, modify campaigns and manage notification settings with great ease.

Click to enlarge
It also presents an overview of all your On-site Notifications against key details like Campaign ID, Status and performance indicators like Views and Clicks.
The Most Important Feature - Enable/Disable On-site Notifications
Using the toggle switch placed on the top left, you can choose to disable your website's notifications. Doing so will prevent all your Active campaigns from being shown to users.
Looking to create On-site Notifications?
Customizing Notification List
Let's show you how you can customize the list to gain quick insights into your On-site Notifications:

Click to enlarge
1. Filter List by Status
At any given point in time, an On-site Campaign can have any of the following statuses:
1. Active: Indicates that the campaign is currently being shown to users as per your targeting settings.
2. Scheduled: Indicates that the campaign is scheduled for activation at an upcoming date.
3. Draft: All campaigns are automatically saved as a draft if they aren't activated during creation. This allows you to pick up exactly where you left whenever you get back!
4. Inactive: Indicates that the campaign has ended. It could happen due to any of the following reasons:
- The campaign was ceased as per the End Date specified while creating it.
- The campaign has been Deactivated by an account admin.
- You can always choose to reactivate a campaign by selecting More > Activate from the bottom left of the Campaign Card.
As highlighted below, you can selectively view On-site Notifications by their current status.
2. Filter List by Tags
Tag is a handy feature that helps you categorize your campaigns as per their purpose, target audience, or any other parameter that makes them easier to locate. As highlighted above, you can choose to view a specific group of On-site Notifications by selecting a tag from the dropdown.
Tags can be created by clicking Add Tag on the bottom left of a Campaign Card.
3. Search for a Campaign
Skip the hunt - Use the search bar placed on the top right to dig out existing campaigns. Type in a keyword, we'll match it to all the campaign titles, tags and present a list. (As highlighted above)
Analyzing Campaign Cards
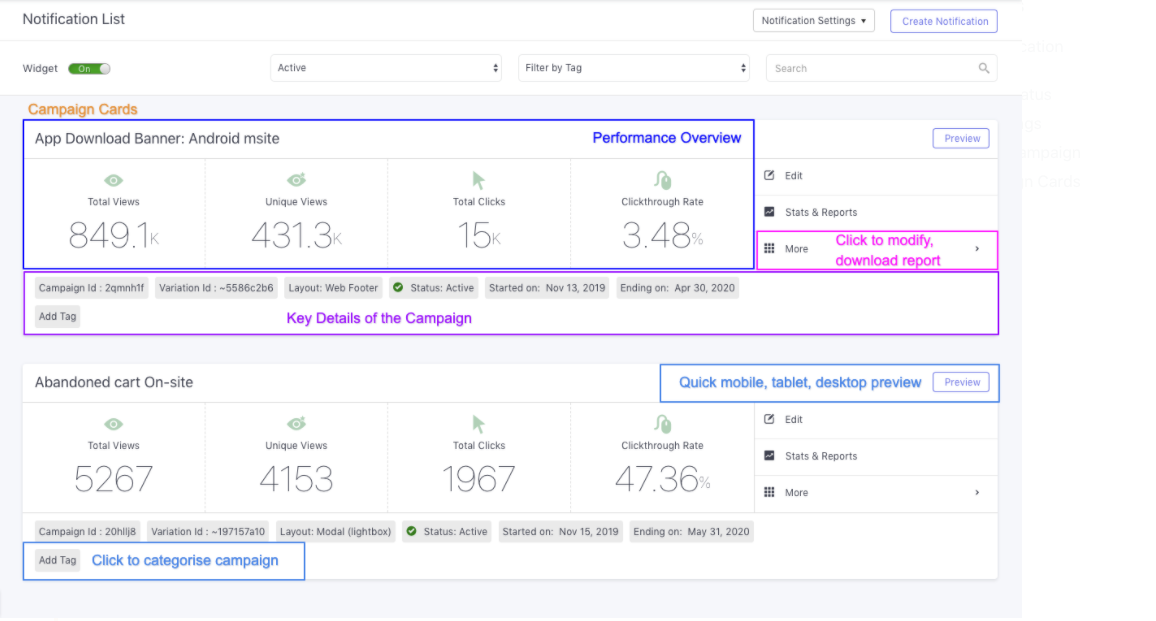
Each Campaign Card presents a snapshot of the On-site Notification's engagement stats, status, layout type and enables you to analyze and modify it.

Click to enlarge
Let's walk you through all the details shown here:
Or, Skip To:
Total Views: Indicates the number of times users viewed the notification since activation until the present day/end date.
Unique Views: Indicates the number of users that viewed the notification at least once over its entire lifetime/till the present day (if the campaign is active).
Total Clicks: Indicates the total number of times users clicked on the notification over its entire lifetime. This includes clicks on CTAs and hyperlinks.
Clickthrough Rate: Indicates the share of users that clicked on the notification after viewing it.
Fact CheckClick-through Rate = (Total Clicks/ Unique Views) x 100
Campaign ID: All campaigns created in your dashboard are given a unique ID. This comes in handy when customizing the interactive experience of a particular On-site Notification. (Detailed read)
Variation ID: Each campaign variation created by you is given a unique ID. This comes in handy when controlling notification visibility on your site or customizing its interaction experience. (Detailed read)*
Layout: Indicates the layout selected while creating the campaign. (Detailed read)
Status: A campaign can have any of the following statuses at a given point in time - Active/ Scheduled/ Draft/ Inactive. (Detailed read)
Conversion: If conversion goal tracking is setup at Step 4: Activate while creating the campaign, then it's indicated by the status, Active.
- This field will not show up for campaigns where conversion tracking hasn't been configured.
Goal ID: A unique ID is assigned to each Conversion Goal created for tracking the performance of On-site Notifications.
- This field will not show up for campaigns where conversion tracking hasn't been configured.
Started On: If the campaign is active, then it will indicate the date of activation.
Notification Expired On: If the campaign is inactive, then it will indicate the date on which it was stopped.
Tags: You can tag similar campaigns to manage them better and identify their purpose/end goal. You can do this by clicking Add Tag, as highlighted above.
- You can click on the tag listed here to view all the campaigns to which it has been added.
Please feel free to drop in a few lines at [email protected] if you have any further queries. We're always just an email away!
Updated 3 months ago