List of Campaigns
Understanding the central hub of Web In-line Content in your dashboard
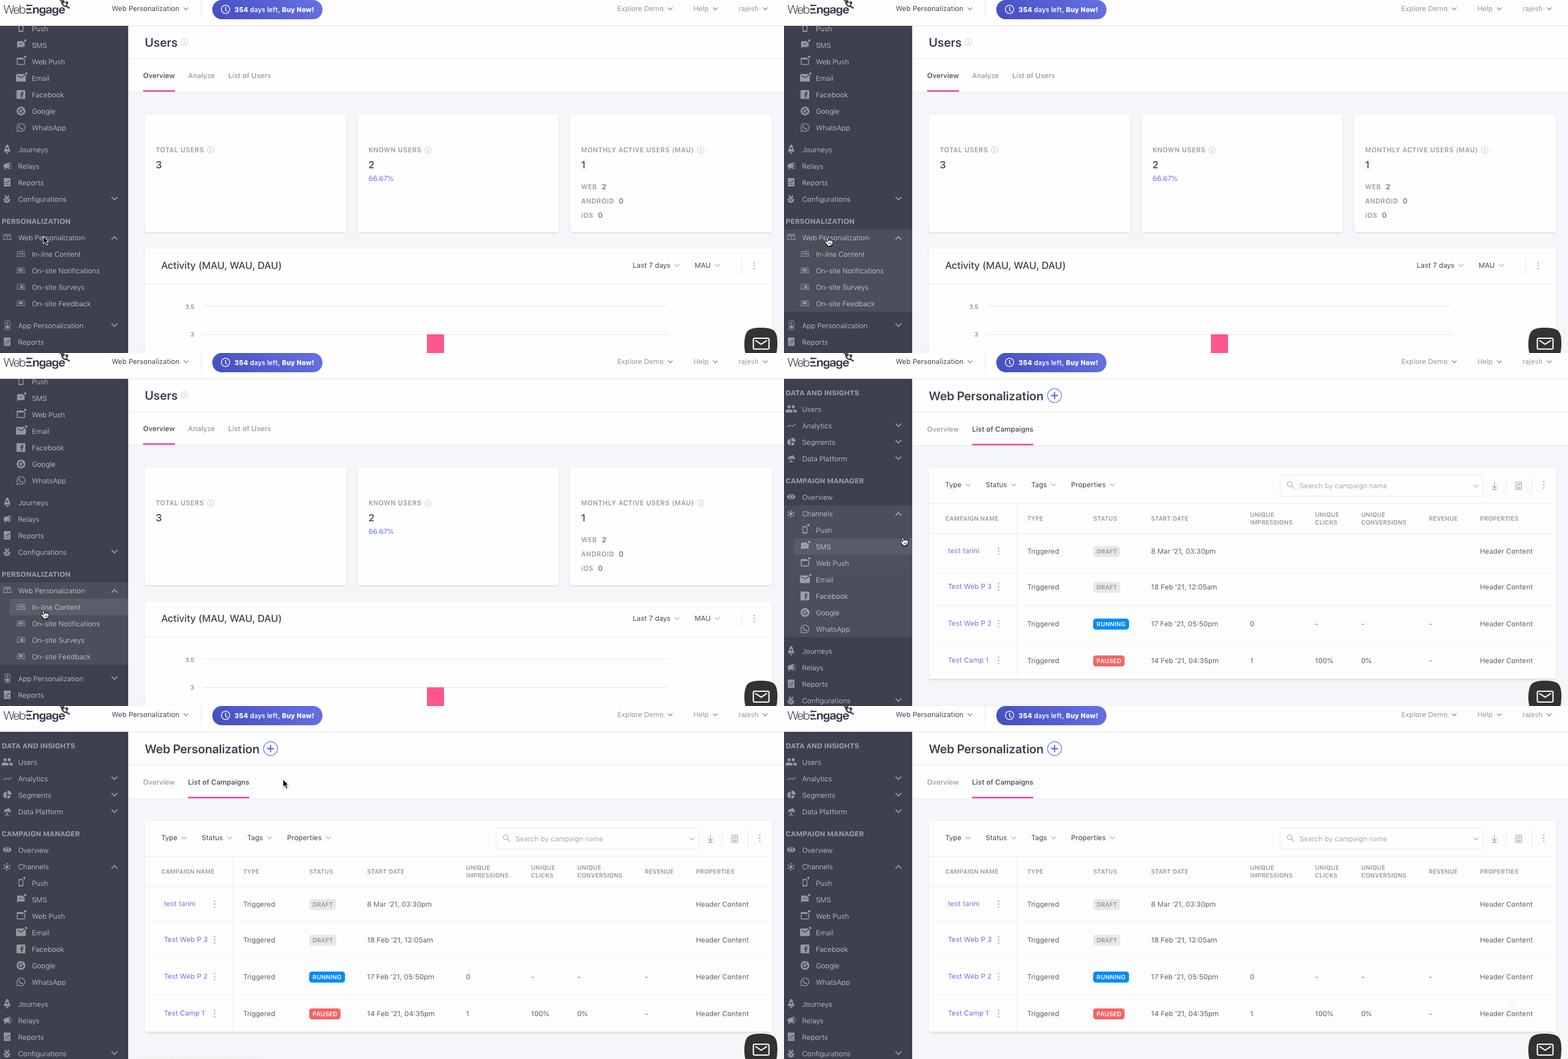
List of Campaigns is the first interface you'll experience when you select In-line Content from the navigation panel of your dashboard, as shown below. It's a central repository of all the Web In-line Content campaigns created by you, making it easy for you to create, analyze and modify campaigns.
Analyzing List of Campaigns
This section presents a broad view of the performance of each Web In-line Content campaigns against key indicators like User Engagement, Unique Clicks, Revenue and so on. Let's show you how you can customize the list to gain quick insights:
Step 1: Filter by Campaign Type
As discussed under Campaigns and Its Types, messages sent through the various channels of engagement are called campaigns and can be of the following two types: All, Triggered, Journeys or Relays.
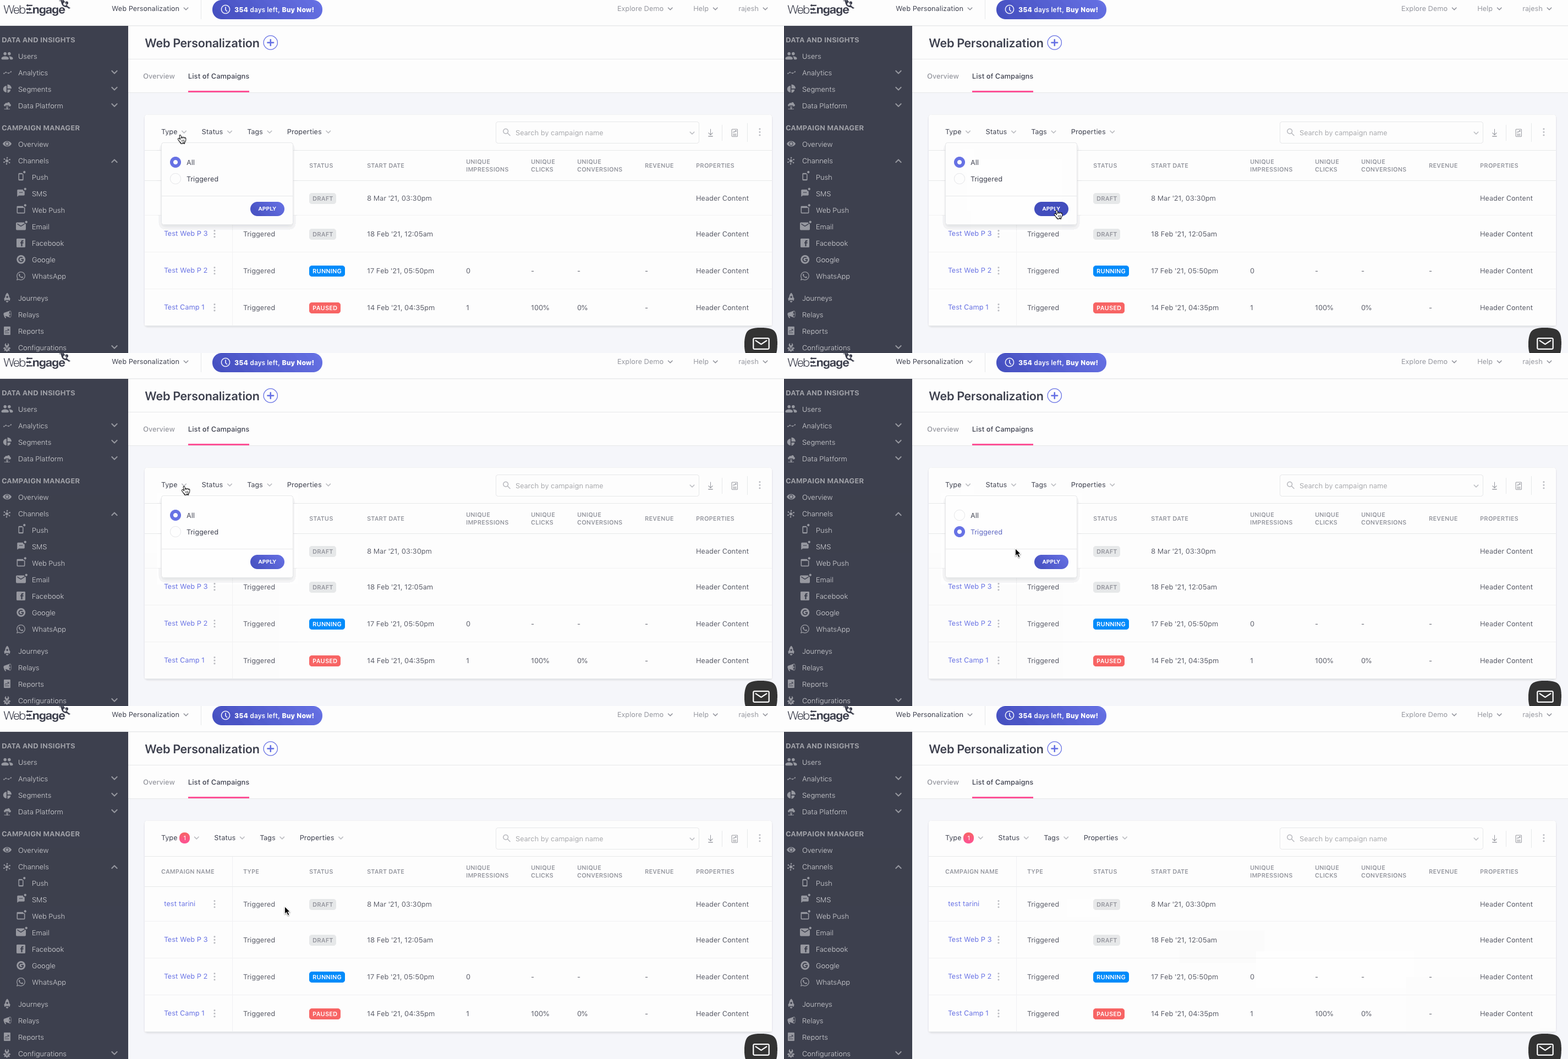
While the default view shows you All types of campaigns, as shown above, you can customize the list by selecting the Triggered type.
Step 2: Analyze
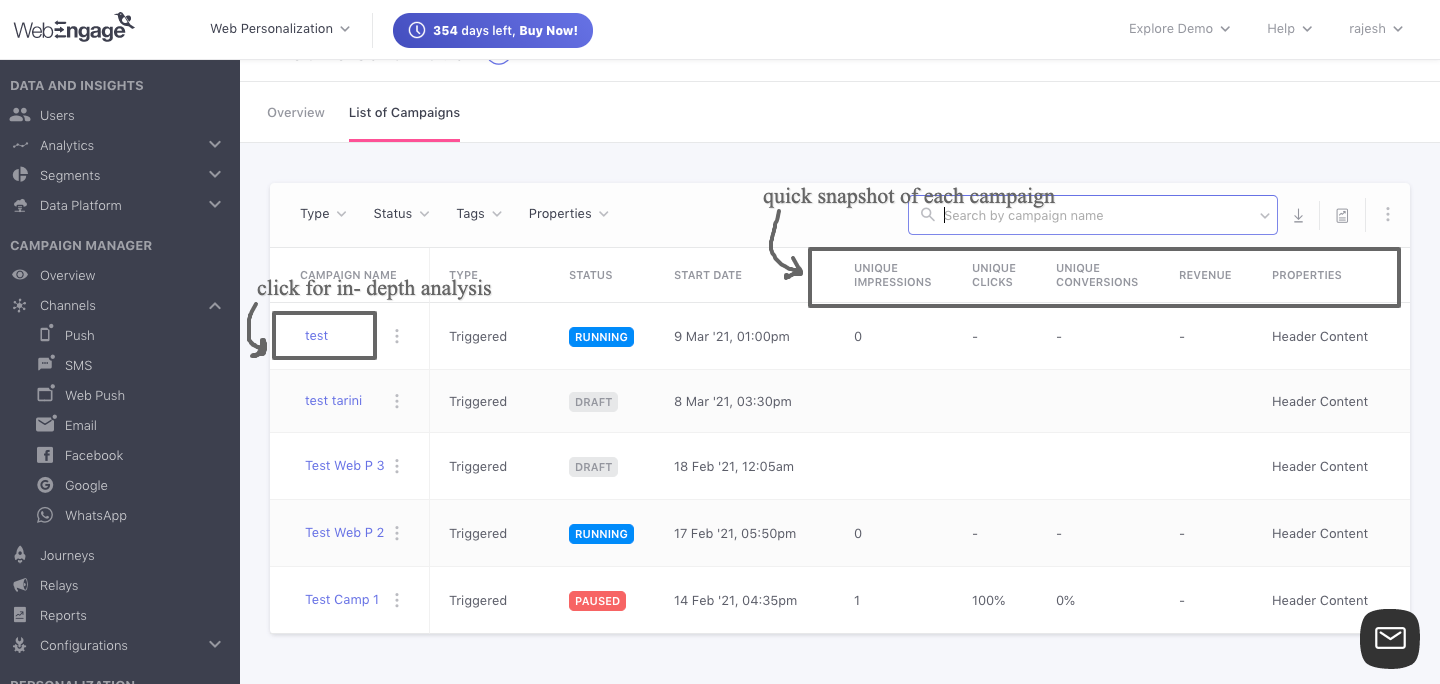
Let's walk you through all the column headers shown here:
Campaign Name: Includes a list of all the campaign titles hyperlinked to the campaign's analysis section.
Type: Shown only when All is selected in the navigation bar, it indicates the type of campaign (Triggered, Journey, Relay). Detailed read
Status: Each Web In-line campaign can have any of the following statuses, discussed in further detail here:
- Draft
- Upcoming
- Running
- Paused
- Ended
Start Date: Indicates the date and time the campaign started getting delivered to its target audience.
Unique Impressions: Indicates the total number of users that have viewed the Web In-line campaign at least once in a session.
(Unique) Clicks: Calculated against Impressions, indicates the percentage of users who have clicked on the Web In-line Banner over its entire lifetime.
(Unique) Conversions: Calculated against Delivered messages, it indicates the percentage of users that have performed the campaign's Conversion Event within its Conversion Deadline. Detailed read onConversion Tracking.
Revenue: Indicates the amount of revenue generated by the total number of times users have performed the campaign's Conversion Event within its Conversion Deadline.
** Revenue is always shown in the Currency selected by you while setting up Revenue Mapping.Detailed read.
Properties: It is the ID at which the Web In-line campaign is placed.
Related ReadsA comprehensive list of all the performance indicators tracked for Web In-line Content
Step 3: Select Data Format (Optional)
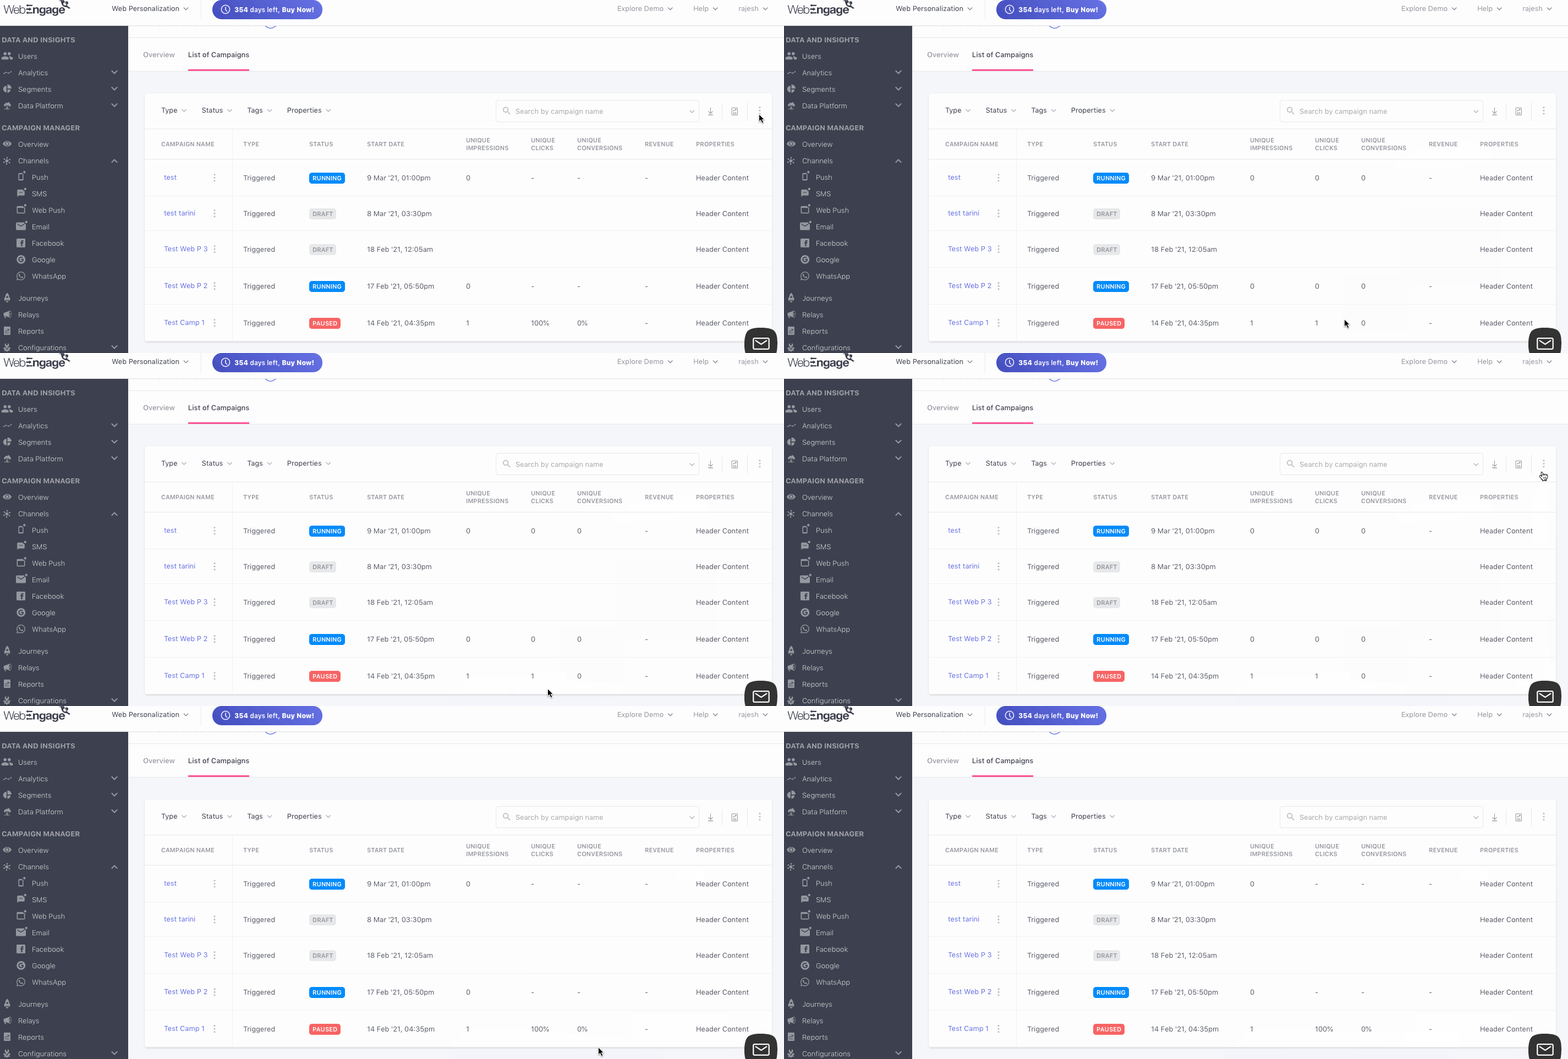
As shown below, using the overflow menu placed on the top left, you can choose to analyze Clicks and Conversions as a numerical value (by selecting #) or as a percentage value (by selecting %).
Features
Now, let's get you acquainted with all the actions you can take through this section:
Download/ Schedule Reports
Here's how you can obtain a report to analyze the performance of multiple Web In-line campaigns over a specific time frame:
Please NoteReports can be downloaded and scheduled only by Admins who have access to Account Management. If you're unable to do so, then please get in touch with your account owner.
Downloading a Report: As highlighted above, click the Download icon placed on the top right to obtain a copy of performance stats for all your Web In-line campaigns for a specific time frame. Here's a step-by-step guide.
Scheduling a Report: As highlighted above, click the Schedule icon placed on the top right to have performance reports delivered periodically to your and your teammates' inbox. Here's a step-by-step guide.
Access Channel Overview
You can choose to analyze the collective impact of all your Web In-line campaigns against key performance indicators by accessing its Channel Overview.
Access Campaign Creation
The Campaign Creation interface can be accessed by clicking the Plus icon placed on the top left of this section, as shown below:
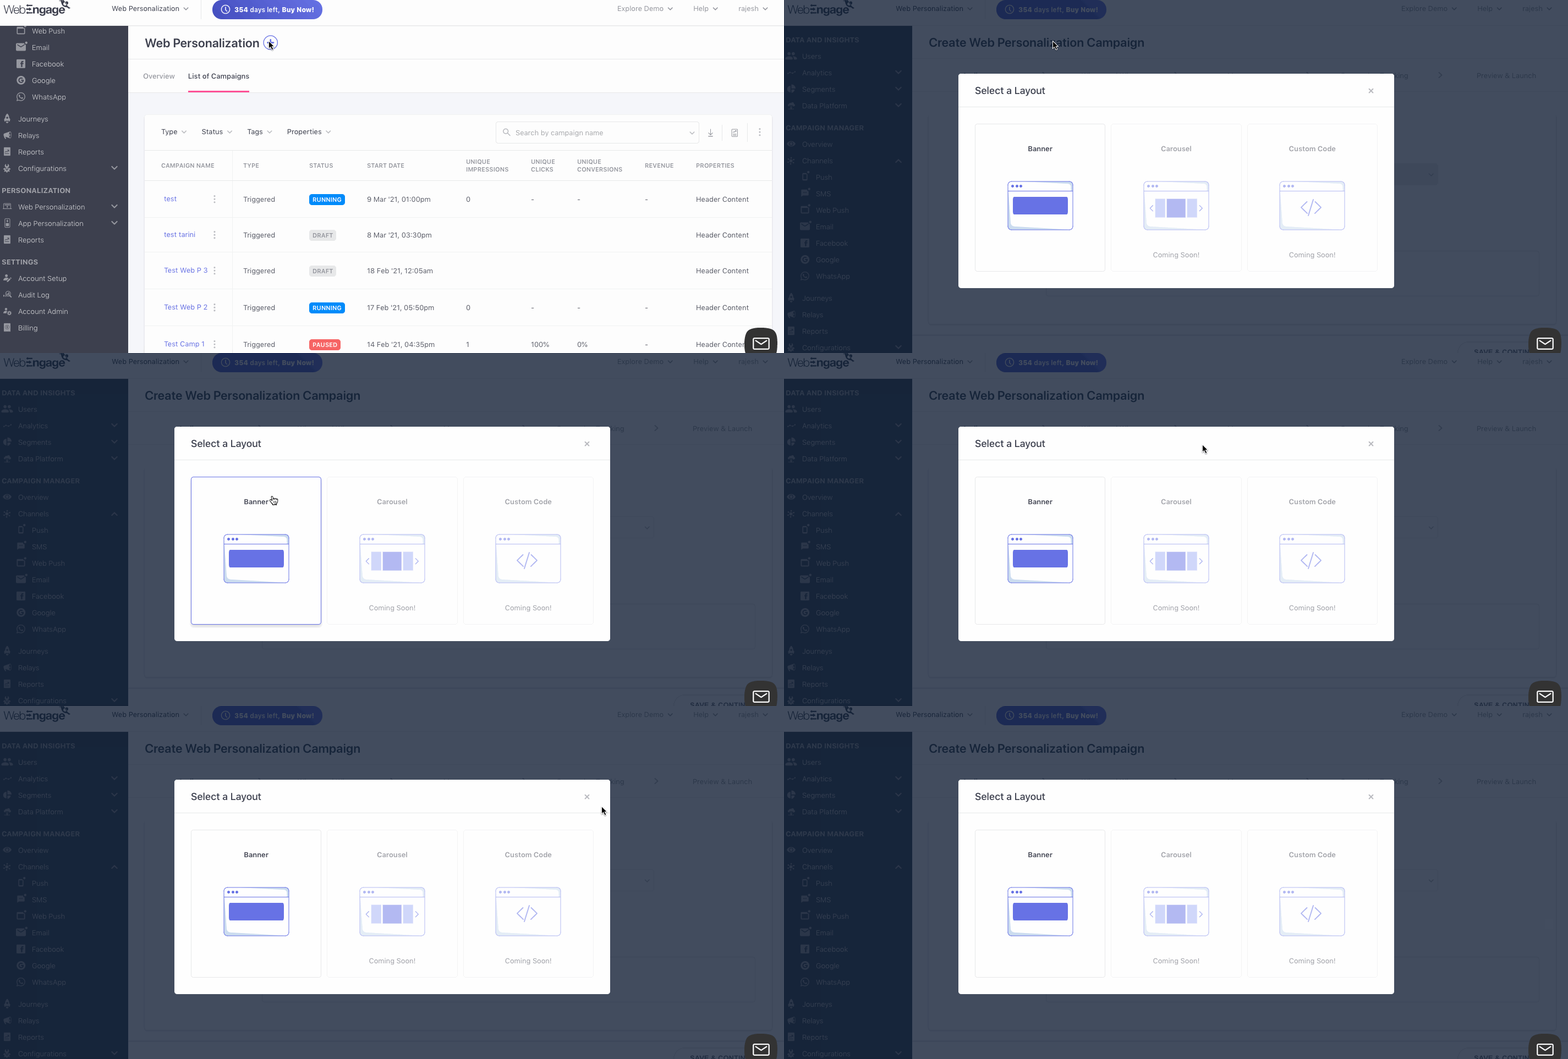
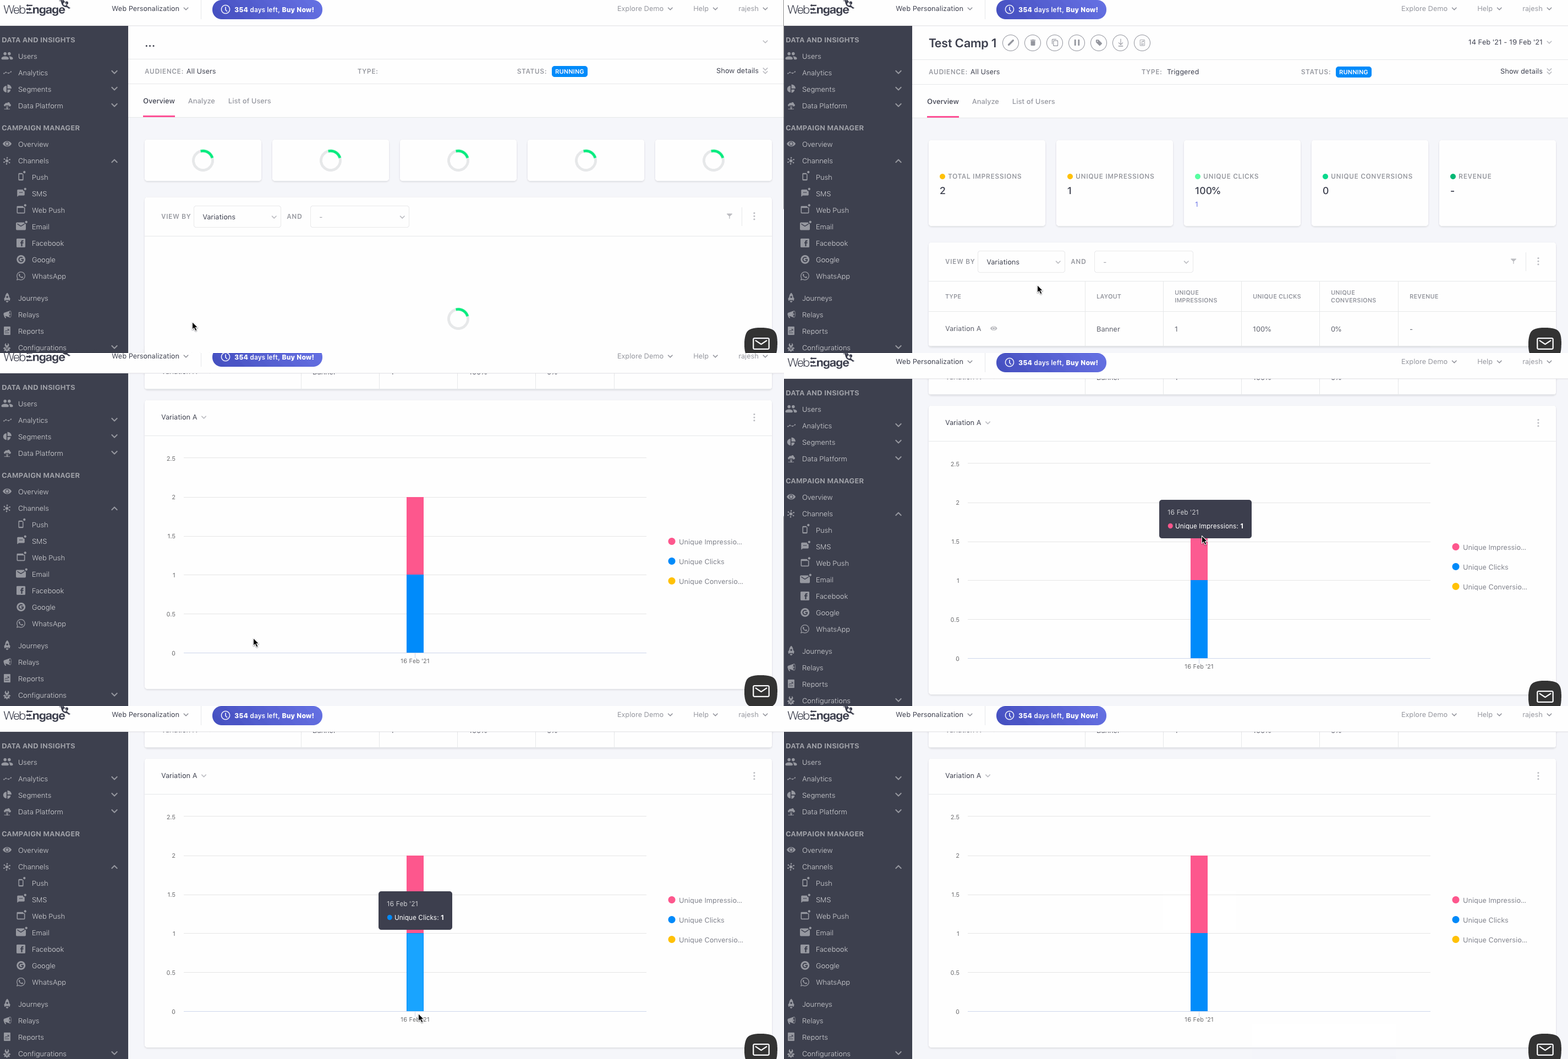
Access a Campaign's Overview
You can choose to analyze the performance of a Web In-line campaign in detail by clicking its (hyperlinked) Campaign Name. Doing so will take you to its Campaign Overview section, as shown below:
Modify a Campaign
Using the options nested under the overflow menu placed next to a Campaign's Name, you can choose to Edit, Delete, Duplicate, or Tag a campaign, as shown below:
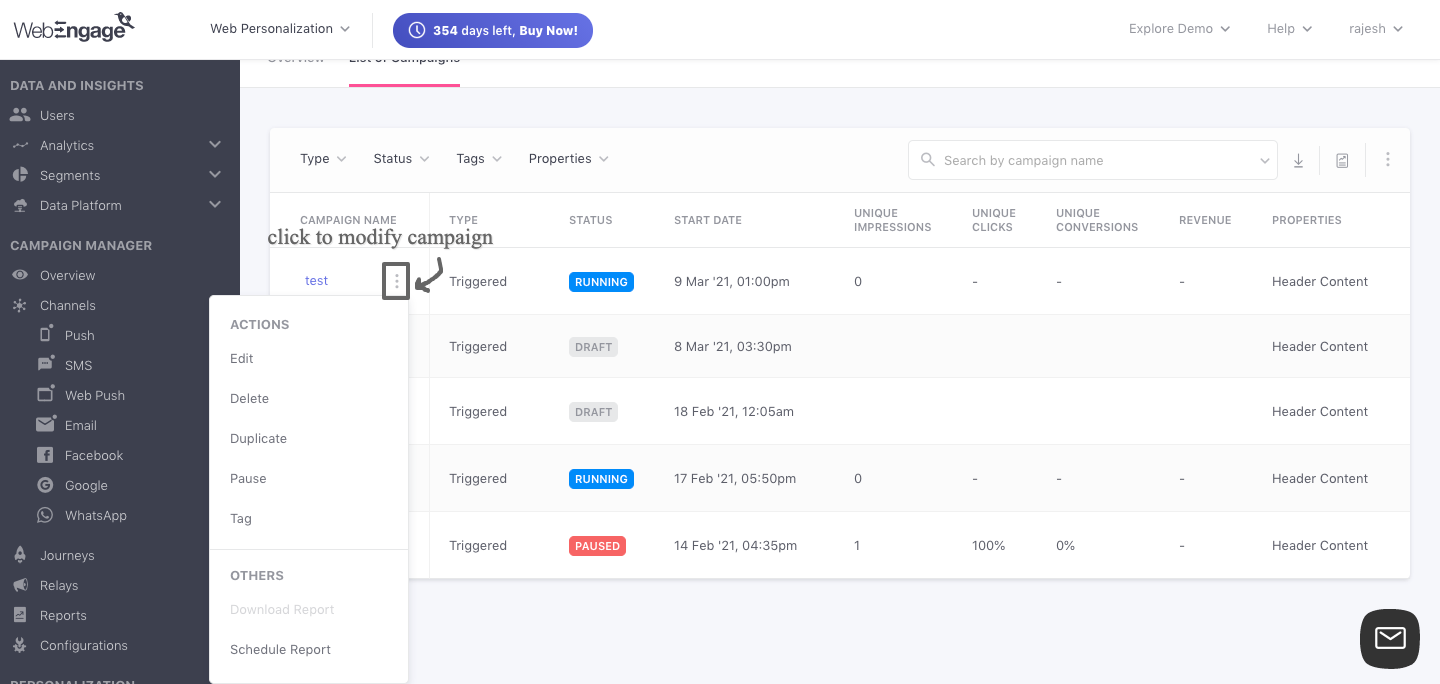
However, do keep in mind that journey campaigns can be edited only through the respective journeys Live View. For the same reason, no overflow menu is shown next to journey campaigns.
Search for a Campaign
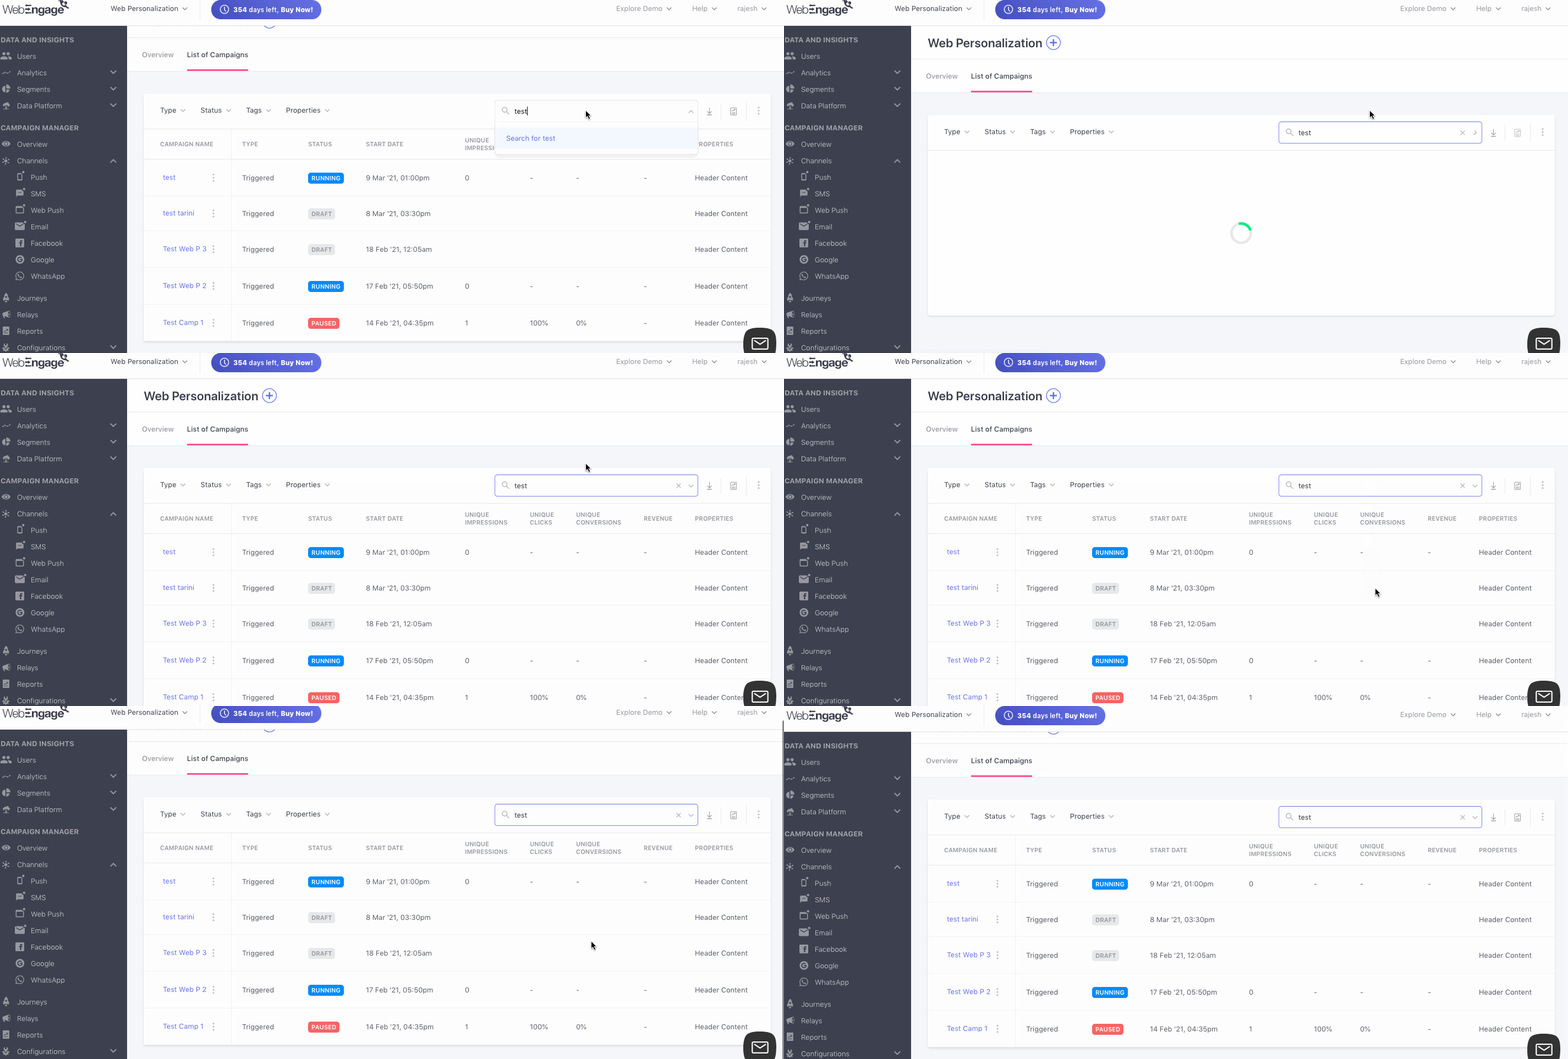
Skip the hunt - Use the search bar placed on the top right to dig out existing campaigns. Simply type in a keyword, we'll match it to all the campaign titles and tags, presenting a list you can choose from! (as shown below):
Updated 3 months ago